10 Steps to Teaching Your Child to
Read
1. Read to your
child
Teaching your child to read is truly a process that
begins at infancy. What I am encouraging you to do is to begin reading with your
newborn within days of welcoming her home! Not only is this a special bonding
time for the two of you, it promotes the interest for books. Enjoyment while
reading is one of the single greatest predictors of reading success in
school-age children. If children don’t learn from an early age to enjoy reading,
it will most likely hinder their ability sometime down the road.

How much you read to your child is completely up
to you and your family, but aim to read at least 3-4 books a day, even while
your child is very young. As she gets a little older and can sit for longer
stretches of time, make it a family goal to read together for at least
20-minutes each day.
- Birth-1 Year: Lullabies, Board Books (with real pictures), Cloth Books (with various textures), Song Books
- 1 Year-3 Years: Rhyming Books, Song Books, Short-Story Board Books
- 3 Years-5 Years: Alphabet Books, Song Books, Picture Books, Rhyming Books
2. Ask questions
Asking questions while reading to your child is not only great for encouraging your child to interact with the book, but it is also extremely effective in developing his ability to comprehend what he is reading. You see, if our main objective in “reading” is getting our child to “sound out” words, we have missed the boat entirely. Even children who can decode words and “read” with great fluency still might not be able to comprehend what they are reading. If a child can’t comprehend what he is reading, there really is no point to reading at all!
While your child is a baby, ask him questions such as, “Do you see the cat?” while pointing at the picture of the cat. This will not only develop his vocabulary, it will also encourage him to interact with the book that he is reading. As he gets older, ask him to point to things in the book himself and make the noises of the animals he sees.

Modifying each of these techniques during read-alouds to meet the developmental stage of your child is a great way to promote and increase reading comprehension!
3. Be a good (reading) example
Even if your child is fascinated with books from an early age, her fascination will quickly dwindle if she does not see reading modeled in her home. If you are not an avid reader yourself, make a conscious effort to let your children see you reading for at least a few minutes each day! Read a magazine, a cookbook, a novel, your Bible…it’s up to you! But show your child that reading is something that even adults need to do. If you have a son, share this article with your husband. Sons need to see their fathers read, especially since it is not something that they are naturally prone to doing.

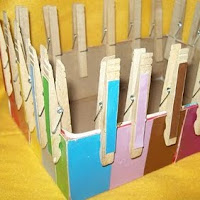
Decorate the kids room using their names on the wall. You can paint and hung large wooden letters spelling their name above the cribs as a decorative accent in their rooms, for instance. In technical terms, this is called “environmental print” and includes all of the print we are surrounded by–fast food signs, labels, traffic signs, clothing, magazines, etc.

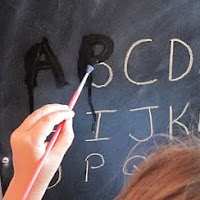
Often times, we want to force our children to learn letter names by a certain age. We buy flashcards or DVDs claiming to teach our children their letters. We drill our 2-year old over and over for minutes on end. Don’t buy into this…allow your kid to be a kid and take advantage of the “teachable moments” as they come along! Children’s minds are like sponges and are certainly capable of memorizing the alphabet from drilling, but that’s not the most effective method that will produce the best long-term results. Your child will be curious about the print he sees around him and will ask questions. That’s your chance to jump in with a practical application that actually has real meaning and significance to your child.
Don’t misunderstand me and think that I don’t think learning the alphabet is important. It is certainly important…but the method in which we teach them is even more important! Always keep in mind that our ultimate goal is to foster a lifelong learner who loves to read, not a child who has simply memorized without any significance.
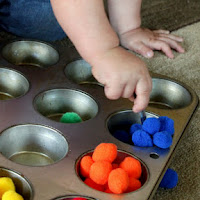
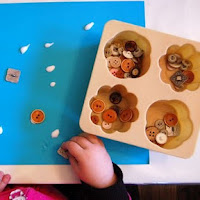
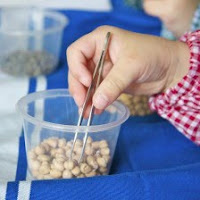
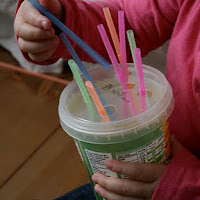
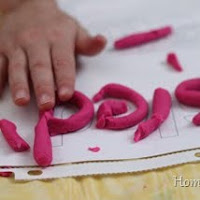
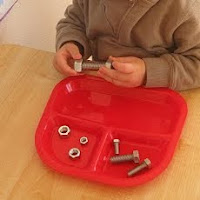
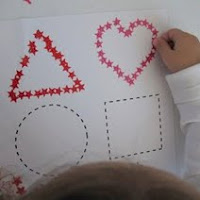
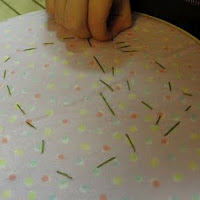
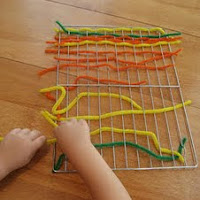
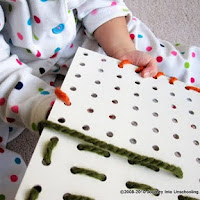
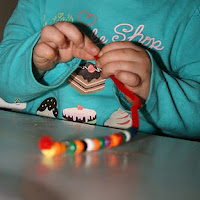
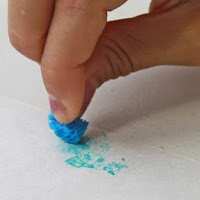
5. Incorporate multiple domains of development
Children learn best when multiple senses or areas of development are included. That’s why hands-on learning produces longer retention and more meaningful application. Once your child has shown an interest in letters and you have already begun to utilize natural settings for identifying those letters, begin implementing activities that incorporate as many senses as possible. Keep in mind that learning letter names isn’t nearly as important as learning their sounds!
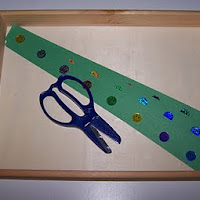
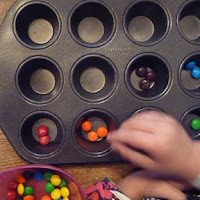
There are a plethora of ways to incorporate multiple domains of development in regards to letter recognition and early-reading skills. Alphabet crafts allow your child to learn the shape of a letter along with an association of the sound it makes all the while utilizing fine motor skills in the process of cutting, gluing, and creating! Playing games that involve gross motor skills (like tossing beanbags on the appropriate letter) are also wonderful ways to include movement. Of course, every child loves songs and rhymes! Take an inventory of your child’s strengths and areas of interest and target activities to fit them!

6. Classify the Genre
Once your child is around 5 and can recognize the difference between real and make-believe, I would suggest starting to help your child understand various genres of books during your reading time together. This might seem complicated, but it’s really not. There are around 5 different genres of children’s books that I would encourage you to point out to your little one. Of course you can use the term “type” rather than “genre” if that is easier to remember.
- Nonfiction (real stories or facts about animals, places, people, etc)
- Fantasy (make-believe, can’t happen in real life because of magic, talking animals, etc)
- Realistic Fiction (a made-up story, but it could technically happen in real life because the characters and situations are believable)
- Alphabet Books
- Song Books

Also, it’s important to note that not all books will fit into one of these genres, especially books that are considered “phonics readers.” I would suggest that you do this exercise only with high-quality children’s literature, not with books that are attempting to get your child to “sound-out” on their own. Most picture books found in children’s libraries will fit into one of these genres.
Remember, our goal is for our children to learn to comprehend what they’re reading…otherwise reading will honestly do them little good. When we encourage our children to think about and process the book we’ve just read together, we are inadvertently modeling what we hope they’ll one day do independently!
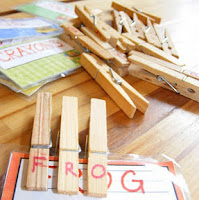
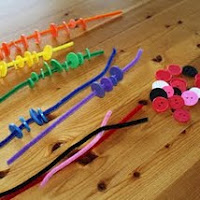
7. Word Families
To put it simply, word families are words that rhyme. Teaching children word families is a phonemic awareness activity that helps children see patterns in reading. This is an important skill because it allows children to begin “reading” by grouping sets of letters within a word.
 |
| Check out this Word Family Game |
8. Phonemic Awareness and
Phonics
“Phonemes” are the
smallest sounds in the English language (go here
for a complete list of phonemes). These sounds are made up of consonants, short
vowels, long vowels, and digraphs. ”Phonemic Awareness” consists of learning
those sounds and how to manipulate them within a word. Digraphs are unique
sounds comprised of individual letters like /th/, /sh/, /ch/, etc.
“Phonics” includes
learning how to spell those sounds and the various rules that the English
language follows. Phonics is an important components of
reading/spelling, but it should never be the main focus. Again, we are looking
to balance our literacy “program” with reading comprehension as the end result.
Learning the rules of phonics is simply a tool that helps a child learn to
decode and spell.
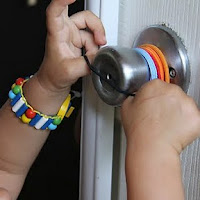
9. Decoding
Decoding is often
referred to as “sounding it out.” This is an important element in teaching your
child to read, but it certainly isn’t the most important. Once your
child knows the sounds each letter makes (which is taught in real,
meaningful situations), she is ready to begin putting words together. When
looking at a short word, encourage her to say each individual sound /b/, /a/,
/t/, and then put them together “bat”.
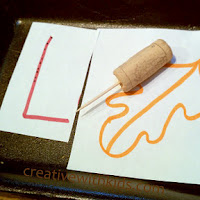
As children decode
words with more frequency, they will become more proficient at automatically
identifying that word. Sometimes this task is tedious, though, so it’s important
to find creative ways to make it fun. One idea is to use finger
puppets to point to the letters as they were decoding.
 |
10. Sight Words
Sight words, also
known as high-frequency words, are the most common words in our written language
are are often difficult to decode phonetically because they don’t follow the
rules of phonics. Because of this, they must be memorized. I am not an advocate
of rote memorization for optimal learning because I feel it only utilizes the
lowest level of cognitive processes. However, sight words must be memorized in
order for your child to become a fluent reader. Don’t get overwhelmed when
teaching them. You can do a pre-assessment to find out which words your students
are having trouble with and then design your instruction around their needs.
Make a chart with them and leave it posted on the wall for reference!…
 |
| Activities like Sight Word Bingo can help make memorizing sight words more fun! |
As you’ve probably noticed, there is no “magic formula” for teaching your child how to read. After all, every child learns differently! This series is not to be used as a “checklist” and think that once you’ve covered all the strategies your child will be proficiently reading. Rather, this series provides valuable information to you so that you can guide your child while creating a print-rich, learning environment to foster his/her growth as a reader. Don’t rush and don’t stress! While it’s important to take advantage of the prime-learning time, it’s even more important to let your kid be a kid!
In summary, here are some practical suggestions you can implement every day based on the strategies shared with you in this post and previous posts. Obviously, you can’t implement all of these suggestions with children of all ages, so use your judgement about what is best for your child.
- Read to your child every day!
- Ask your child questions before, during, and after reading.
- Let your child see you reading.
- Look for letters while out and about and in the environment around you.
- When teaching letters and letter sounds, incorporate as many senses as possible.
- Read a variety of books and make a game out of guessing the genre.
- Have fun rhyming!
- Work on letter sounds and manipulating them within words (phonemic awareness)
- Encourage your child to sound out short words (consonant, vowel, consonant).
- Practice memorizing a few sight words each day.
- Most of all, have fun together!
Did I
forget to mention any other important elements in teaching your child to read?
What strategies have you found beneficial to your child?
adapted from: http://www.icanteachmychild.com